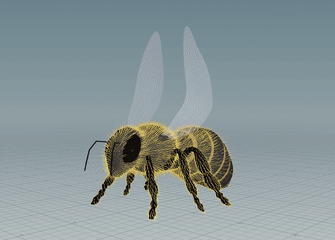
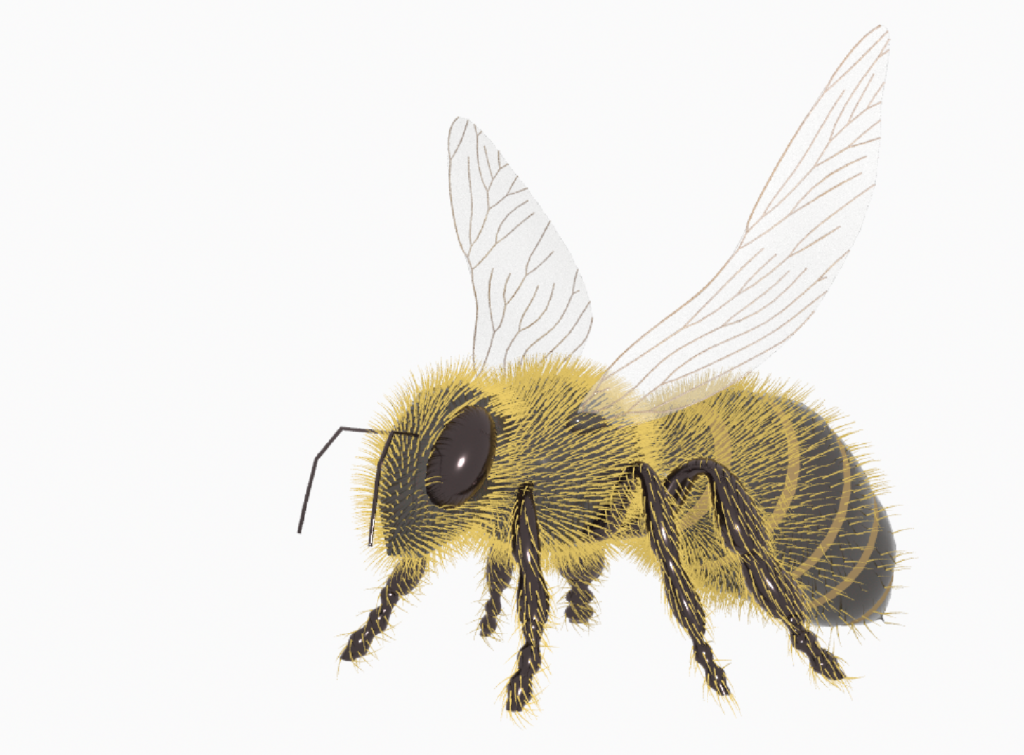
For my Procedural Computer Graphics project, we were tasked with creating a procedural bee in Houdini, a wonderful assignment crafted by our TA, Elyssa. However, I wanted to challenge myself by applying the same skills to create a different model. I ended up creating a (somewhat?) realistic bee. Here’s how I did it:
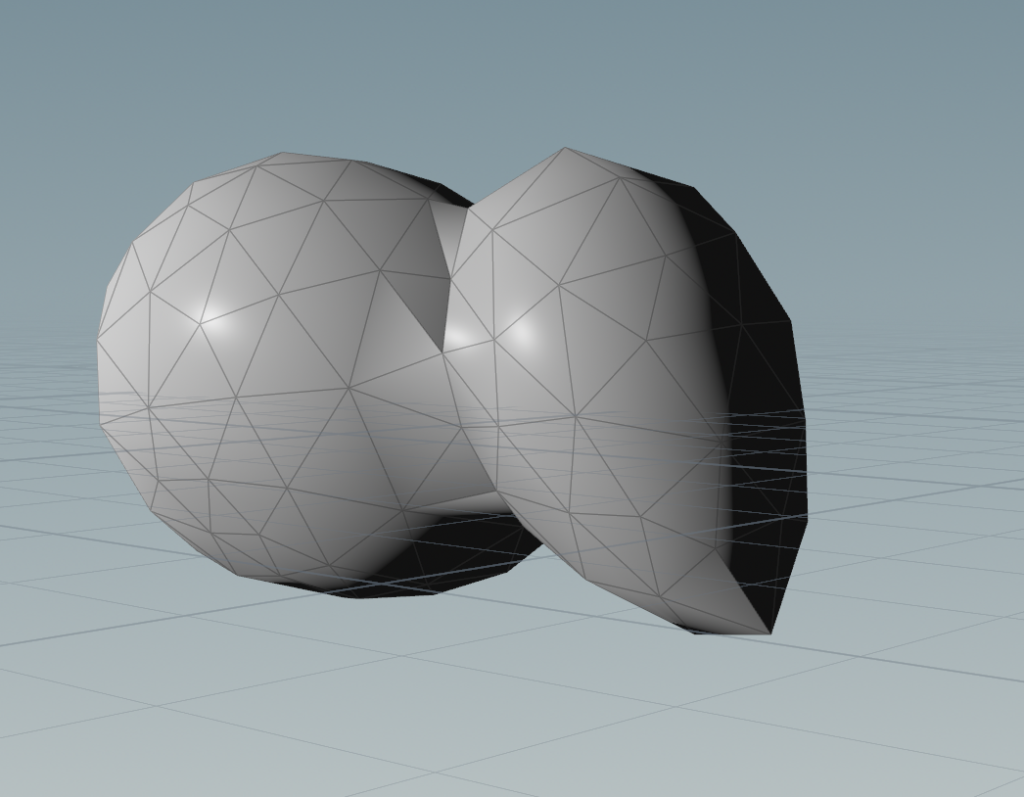
- Head and Body
- I began with primitive spheres and added noise to make the shape more organic. Remeshing the head and body into triangles also made the connection between the two spheres seem more natural.
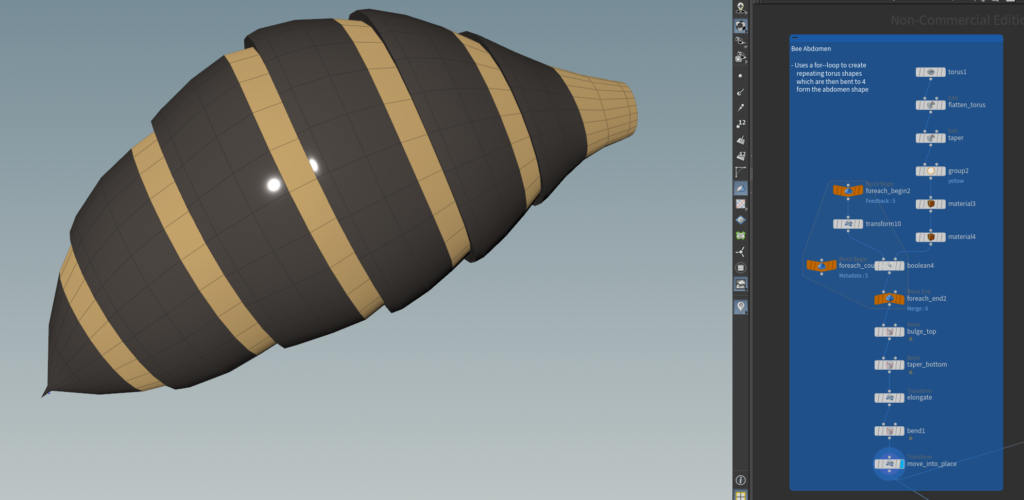
- Abdomen
- I used Houdini’s for-loop nodes to create the bee abdomen.
- First, I created the shape of one section of the abdomen by modifying a torus.
- I then used Houdini’s loop nodes to duplicate the shape and stack them on top of each other, creating the full abdomen. The overall structure was created by bending and tapering the duplicated toruses.
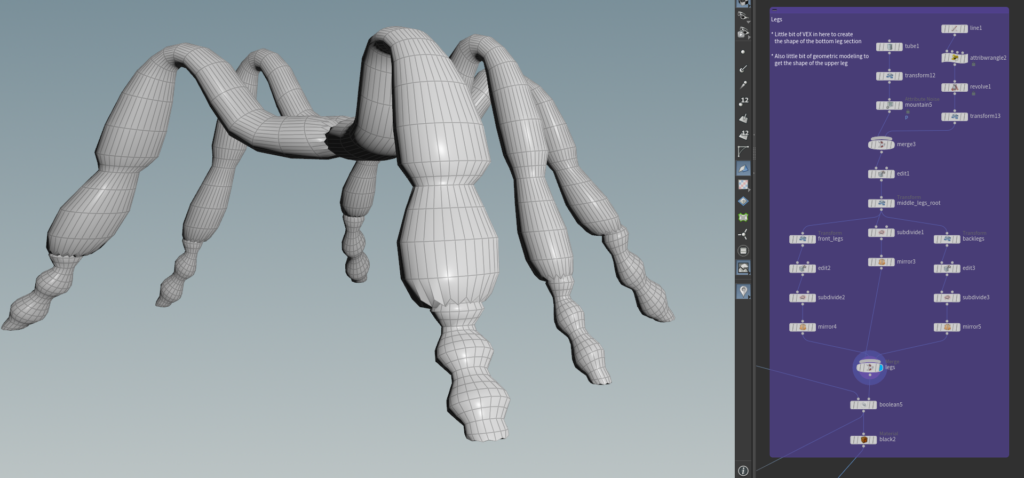
- Legs
- The legs were created using a combination of VEX and geometric modeling (oops). To get the shape of the first two segments of the legs, I ended up modifying and rotating the vertices of a tube.
- However, I did use VEX to create the more jagged shape of the legs’ bottom section. I tried replicating a sawtooth function in VEX to create the shape of the leg, before revolving it to make it three-dimensional. I don’t think this is super observable because I ended up subdividing the entirety of the legs to make them smoother, so retrospectively, I would have separated the bottom part of the leg and merged at the end.
- The legs were then mirrored and duplicated, with slight variations between the front, middle, and hind legs.
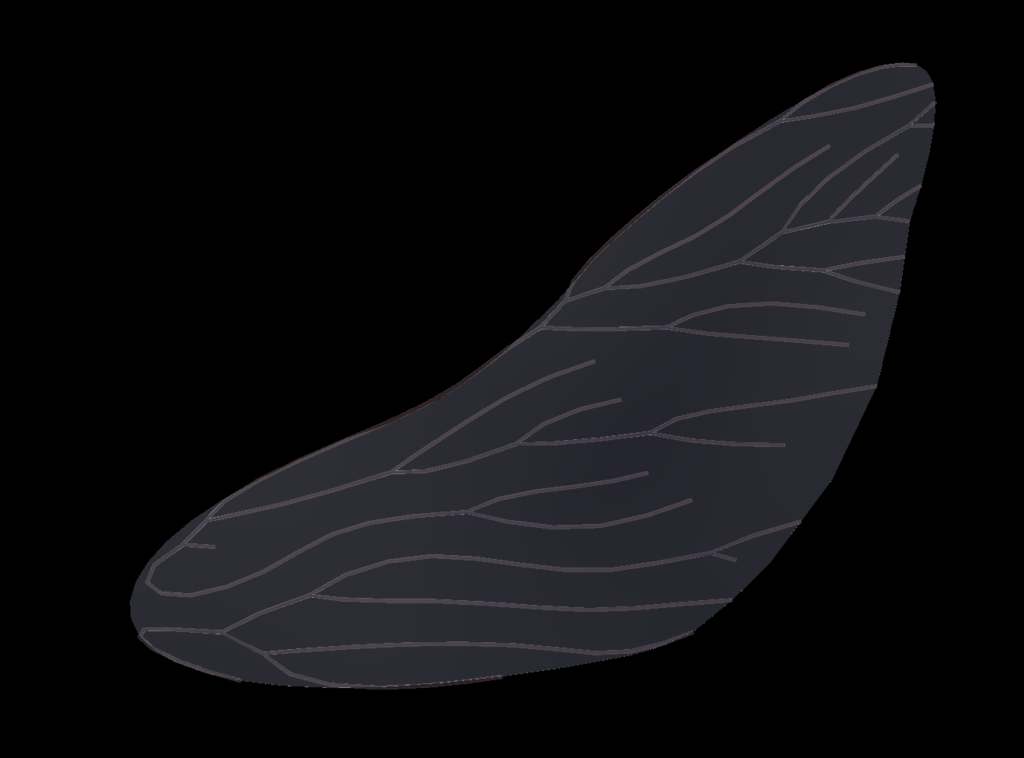
- Wings
- I first created the base wing by bending a primitive circle. After remeshing it, I worked on creating the details using shortest paths. The wing was slightly extruded and the details were converted to meshes using polywire.
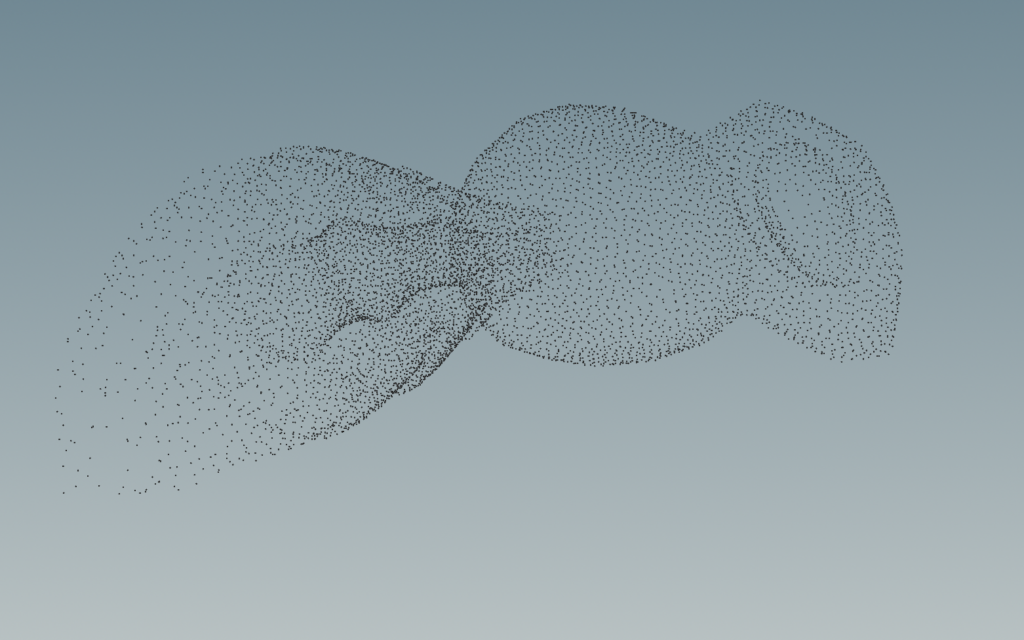
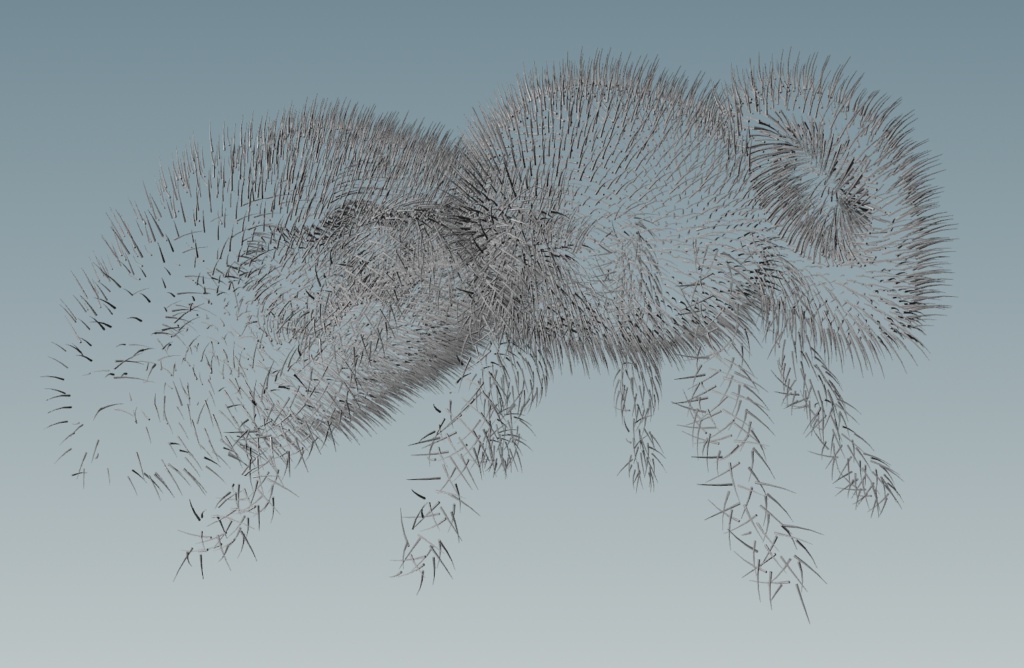
- Hair
- The bee has hair on its head, body, abdomen, and legs. The general method for generating each is the same: calculate normals for the mesh, scatter points on the mesh, copy a hair mesh (bent, polywired line) to each of the points.
- The bee’s abdomen hair has a slight detail: the bee’s abdomen has more hair closer to the body, and fewer hairs on the stinger side. This was done using a distance to geometry node, in which points are more likely to be scattered on the parts of the mesh that are closer to the bee’s body. If I circle back on this project, I’ll try to delete the points that scatter inside the abdomen, since it’s currently creating hairs that are never seen.
- Animation
- I added a simple animation for the flapping of the wings, which change sinusoidally with the frames.