Ceramic Tool
After visiting the Delft Blue ceramic factory in the Netherlands, I was inspired by the art and craftsmanship behind the many types of pottery that the factory hand-produces.
This Houdini tool allows an artist to create and customize their own ceramics. The artist can generate and structurally manipulate vases, teapots, bowls, cups, etc. The tool also allows for the artist to toggle lids, handles, and spouts while providing assistance in connecting handles to the vase body and maintaining the lid on top of the vase.
Breakdown
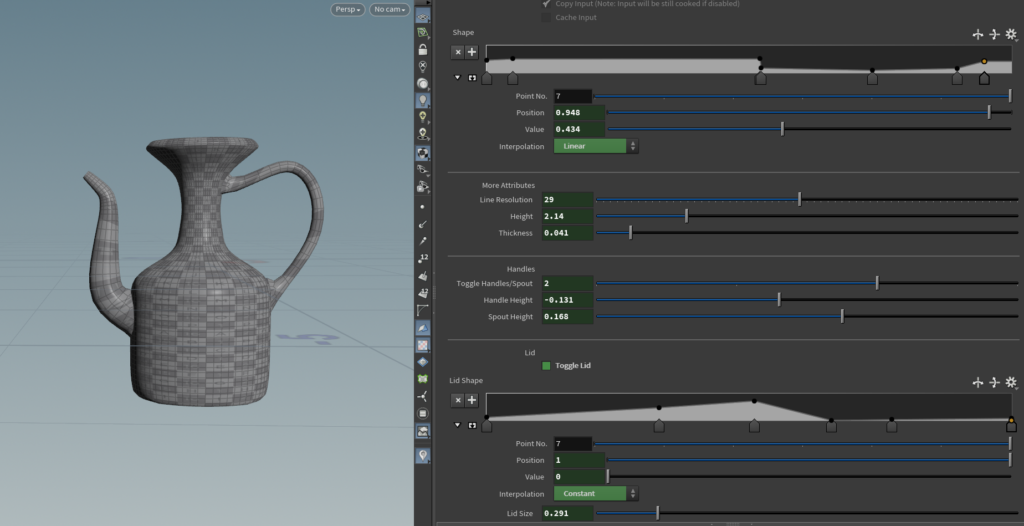
To generate the object shape I used a VOP node with a ramp, allowing the user to customize the silhouette of the object. The object forms once the line is revolved. Polyfill and peak nodes are used to give the object dimension and thickness. The handles and spouts are built similarly, but with bezier curves.
Demo Render
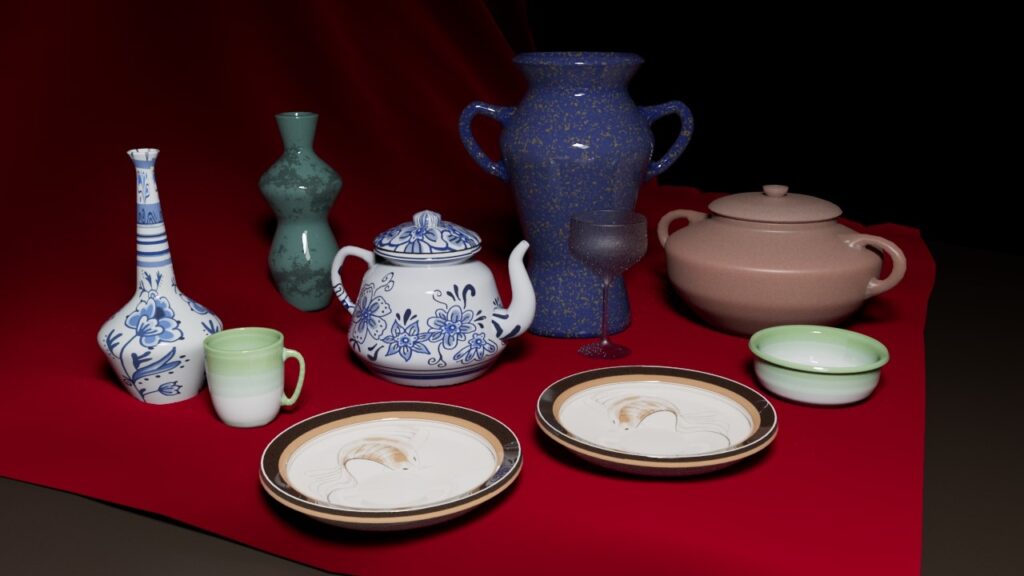
Here’s a render of a scene I created in Maya. All objects in the scene were created by my tool. I also painted my own textures via Procreate and UV unwrapping.
Recently, I also experimented with Houdini to create some simulations in a teacup that was built using this tool. Learn more about that project below.
Surreal Tea Simulation
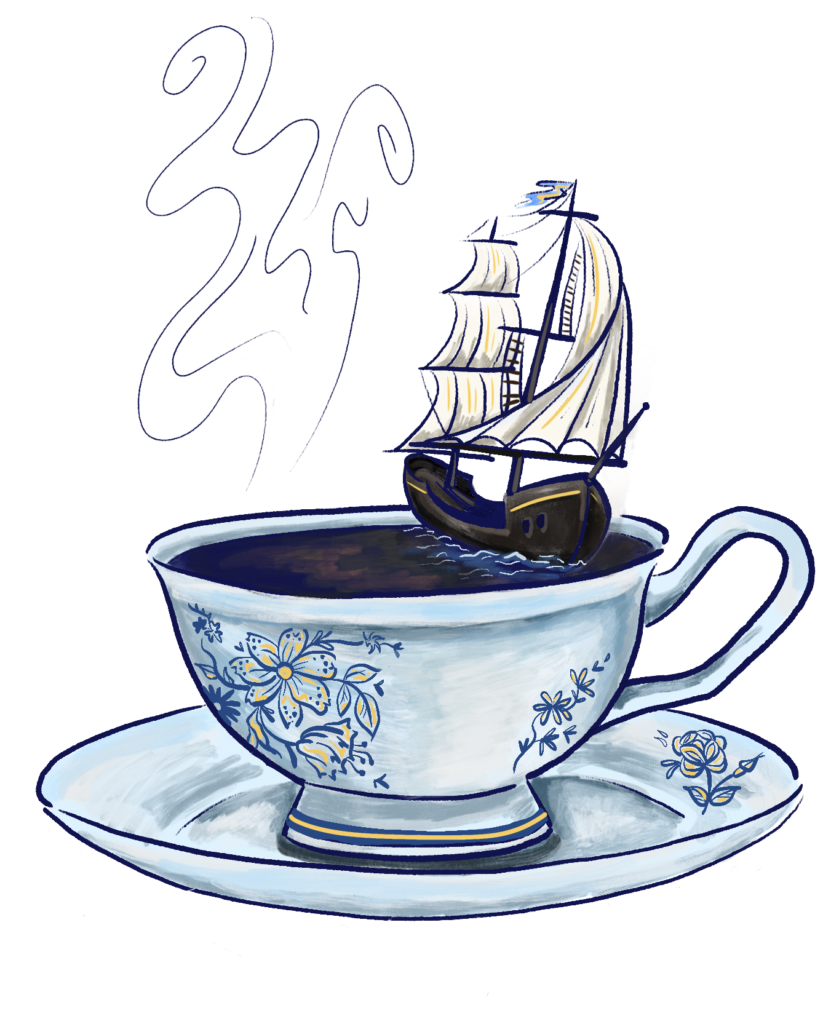
The idea for this project began with this 2D concept drawing that I made in Procreate, inspired by Taylor Swift’s song, Gold Rush.
Having just built projects in Houdini involving boats and ceramics, I thought it would be interesting to continue learning Houdini by tackling the movement in my drawing. In other words, I wanted to transform this drawing into a rendered animation in Houdini.
I first created the teacup using my ceramic tool. I really enjoyed this process because I was able to try out my own tool as part of a larger project. I created the texture in Procreate and UV-unwrapped the teacup in Maya. I also modeled the boat in Maya and used my own Procreate textures.
Simulation Nodes
I used wispy smoke for the tea steam and applied it to a circle on the surface of the cup. For the water waves, I used a small ocean sim and a boolean node to cut a circular ocean surface out of the default grid.
For the boat, I broke the FBX import into multiple nodes, allowing me to customize each piece’s movement. For the wind in the sails, I used a mountain node with Perlin flow, and adjusted the period and amplitude based on how the pieces should move (i.e. flag vs. mainsail). The boat’s swaying was accomplished using sine functions in each of the rotate parameters.
Below is the final product with the VFX breakdown!